Vinyl siding in Calgary has become a popular choice for homeowners because of its durability and low maintenance. However, all siding companies in Calgary can tell you that even the best quality vinyl siding can begin to fade over time. Fortunately, painting your vinyl siding can effectively restore its original appearance and protect it from further damage. Find out everything you need to know about how to paint vinyl siding properly and why it matters – especially during winter!
Painting Preparation For Vinyl Siding in Calgary
The first step to properly paint vinyl siding in Calgary is to clean it thoroughly. Use a pressure washer or a hose with a spray nozzle attachment to remove dirt, debris, and grime. Allow the siding to dry completely before moving on to the next step. Next, inspect the siding for any damage or signs of wear. Replace any damaged or broken siding and make any necessary repairs before proceeding with the painting process.
Siding companies in Calgary recommend it for a good reason. Painting over damaged vinyl siding makes the problem worse. Vinyl siding is designed to expand and contract with temperature changes, and painting over damaged or warped siding can trap moisture underneath the paint. This moisture can cause the siding to deteriorate even further, leading to more significant and costly repairs.
How to Start Priming Vinyl Siding
Properly priming your vinyl siding before painting is essential for a long-lasting, durable finish. It helps the paint adhere better and protects the siding from damage. It is especially important during the winter months when harsh weather conditions can cause the paint to crack and peel if it has not been properly primed. Choose a high-quality exterior primer specifically formulated for use on vinyl siding. Choose a high-quality primer that is specifically designed for vinyl siding. It’s also important to ensure the primer is compatible with the paint you plan to use. Next, apply the primer with a brush or roller, starting at the top of the siding and working your way down. Be sure to follow the manufacturer’s instructions for drying time and re-coating.
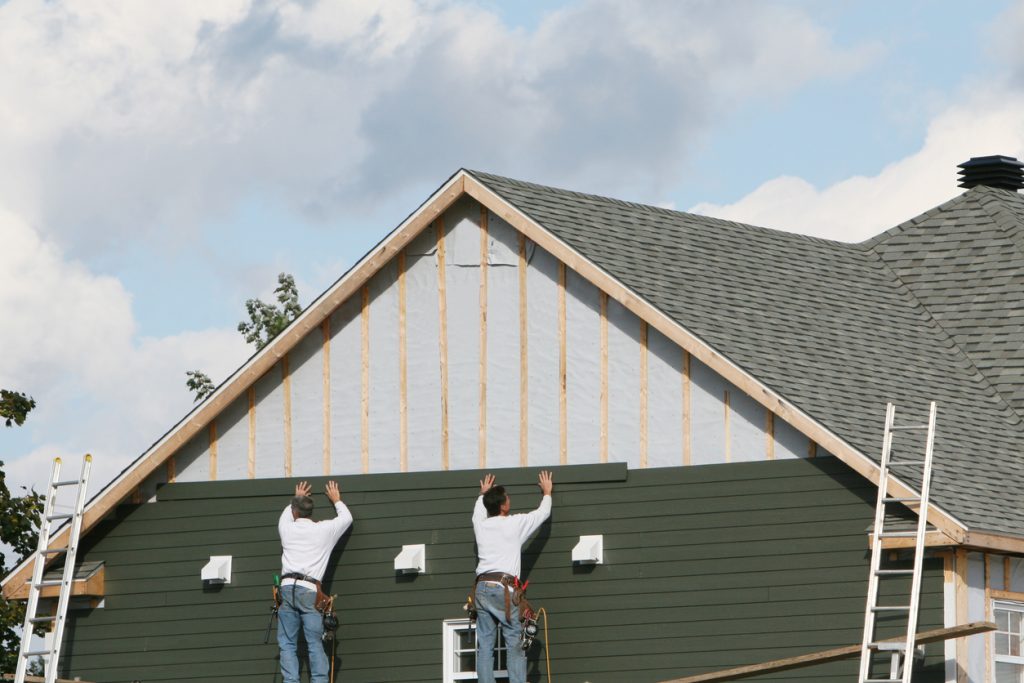
Properly Painting Vinyl Siding
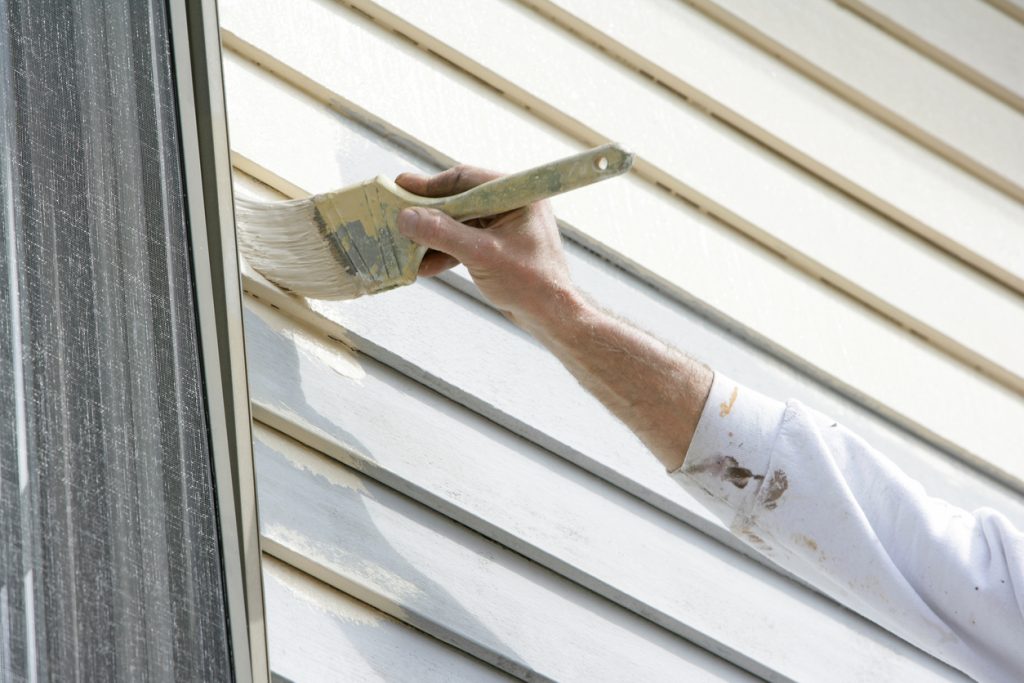
Once the primer has dried, it is time to paint the vinyl siding. Choose a high-quality exterior paint specifically designed for use on vinyl siding. When selecting a paint colour, remember that darker colours absorb more heat and can cause the siding to warp or buckle. Apply the paint using a paintbrush, roller, or sprayer. Begin at the top of the siding and work your way down, applying a thin, even coat. Allow the first coat to dry completely before applying a second coat.
Why It Matters During the Winter
In Calgary, winter can be harsh on your home’s exterior, including your vinyl siding. As the temperature drops, vinyl siding can become brittle and more prone to cracking or breaking. Additionally, the harsh winter weather can cause fading, chipping, and other damage to your vinyl siding. Painting your vinyl siding before winter provides an extra layer of protection against harsh weather conditions. The paint acts as a barrier, preventing moisture from seeping into the siding and causing damage. Some paint can also help insulate your home, keeping it warmer and more energy-efficient during the cold winter.
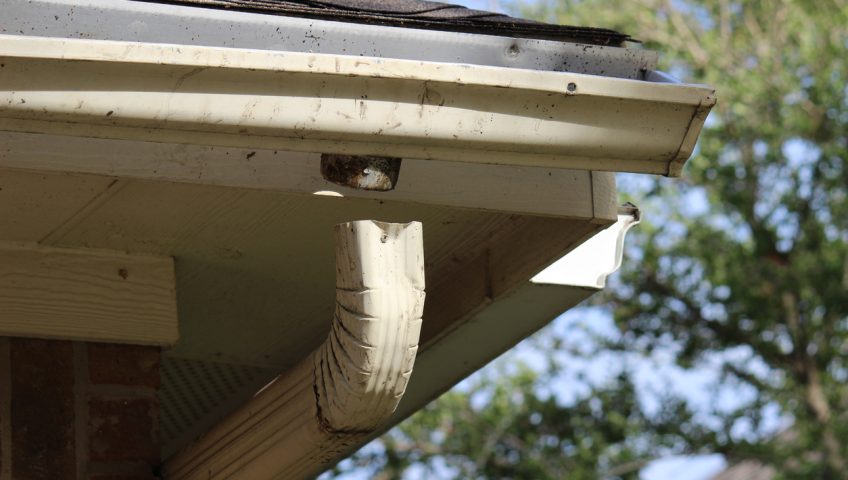
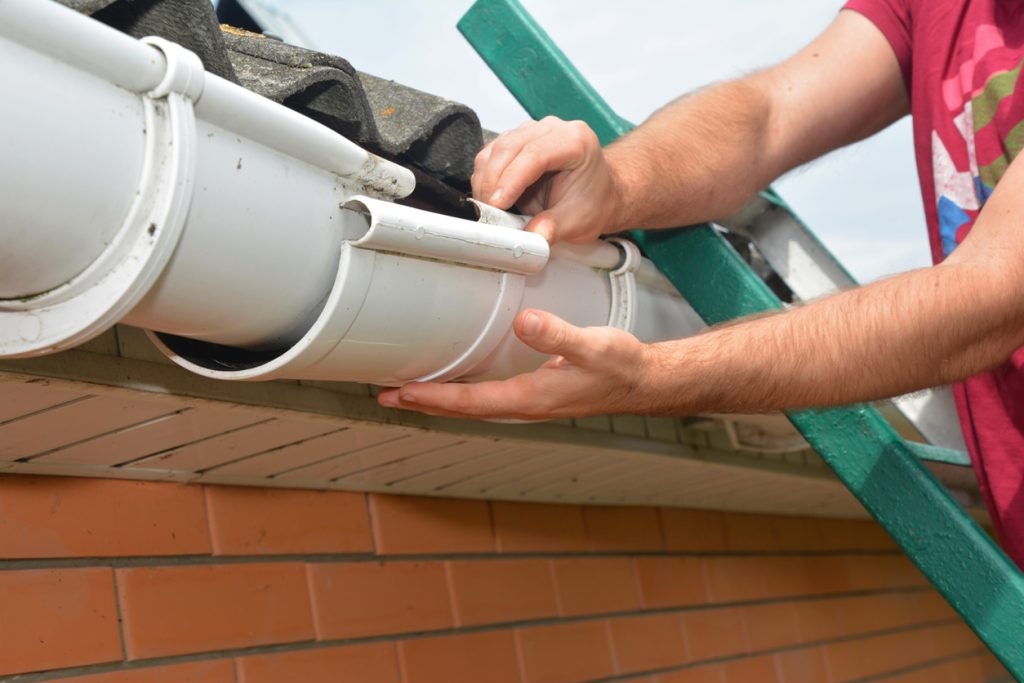
Cleaning your eavestroughs is crucial to the safety of your home. If your home needs eavestrough repair, installation or maintenance, contact the professionals at Alpine Eavestrough. We’d love to hear from you.
Phone: 403-242-7868